If you’re a crafting enthusiast, you’re most likely familiar with the Cricut mat. This tool is essential for various cutting machines, helping you create beautiful designs on different materials. However, a clean or worn-out carpet can improve your crafting project’s quality and efficiency. That’s why learning to clean a Cricut mat is crucial to maintain its performance and extending its lifespan. In this article, we’ll go over the steps to effectively clean your Cricut mat and offer tips on keeping it for long-lasting use.
The Different Types of Cricut Mats
When it comes to Cricut mats, there are various types available for different crafting needs. You might come across four types of Cricut mats:
- StandardGrip Mat: This is the most commonly used mat, suitable for many materials like cardstock, vinyl, and patterned paper. It has medium adhesive strength.
- LightGrip Mat: The LightGrip mat has a lighter adhesive strength and is excellent for delicate materials such as vellum, thin paper, and washi tape.
- StrongGrip Mat: As the name suggests, the StrongGrip mat has the most muscular adhesive strength, making it perfect for heavy materials like leather, thick cardstock, and chipboard.
- FabricGrip Mat: Explicitly designed for fabrics, the FabricGrip mat features a strong adhesive that firmly holds the material in place while cutting.
By knowing about the different types of Cricut mats, you can select the one that suits your project and delivers the best possible results. In the following sections, we’ll discuss how to clean each type of Cricut mat effectively.
Signs That Indicate It’s Time to Clean Your Cricut Mat
Over time, your Cricut mat will likely accumulate debris and lose some adhesive strength. Here are some signs to look out for that indicate it’s time to give your mat a clean:
- Your materials no longer stick to the mat, causing them to move around during cutting.
- The mat’s surface looks dirty or stained, making it hard to see where to cut.
- You can see debris or dust on the mat’s surface that might interfere with cutting.
- The mat has lost its stickiness and can no longer hold materials.
- You can see fibers or threads stuck to the mat from previously cut materials.
When you spot any of these signals, it’s time to tidy up your Cricut mat. Cleaning it frequently will assist in maintaining the mat’s quality and avoiding problems such as ripping or tearing that may occur if it becomes filthy or loses its adhesive properties. Thus, these are the guidelines you must adhere to when cleaning your Cricut mat.
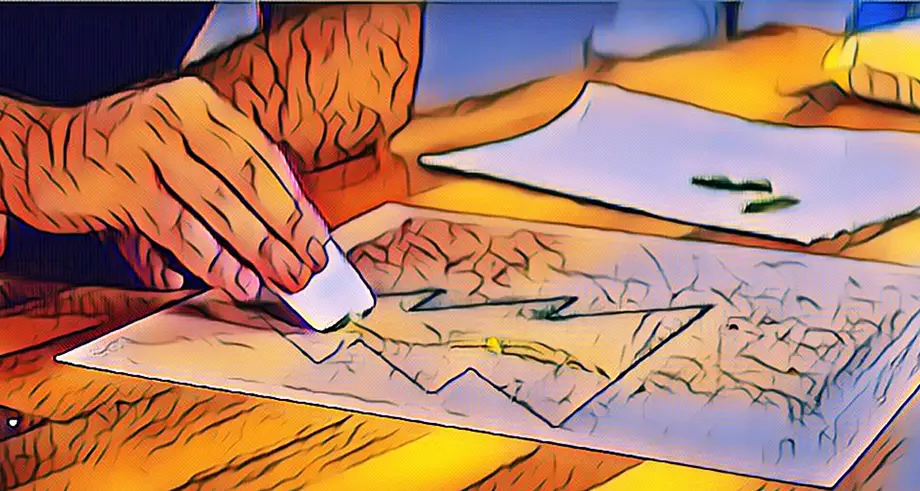
Preparing Your Cricut Mat for Cleaning
Before you clean your Cricut mat, it’s essential to take some steps to ensure you clean it properly without harming it. Here are the steps you should take to prepare your Cricut mat for cleaning:
- Remove debris or loose materials from the mat’s surface using a scraper or spatula.
- Inspect the mat’s surface for any cuts, tears, or damage. If you find any damage, consider getting a replacement mat to ensure the best cutting results.
- Check the adhesive strength by pressing your finger onto the mat. If it feels too sticky, use a clean, dry cloth to make it less sticky.
- Mix warm water and mild dish soap to prepare a cleaning solution.
- Have a lint roller or a dry cloth to dry the mat after cleaning.
Following these preparation steps, you can clean your Cricut mat effectively and safely without damaging it. The following section will provide instructions for cleaning your Cricut mat.
How to Clean a Cricut Mat
Cleaning your Cricut mat is a simple process that requires minimal time and effort. Here are the steps to follow:
Apply the cleaning solution: Dip a clean sponge or cloth into the cleaning solution and gently rub it onto the mat’s surface. Make sure to cover the entire mat, focusing on areas with stubborn stains or debris.
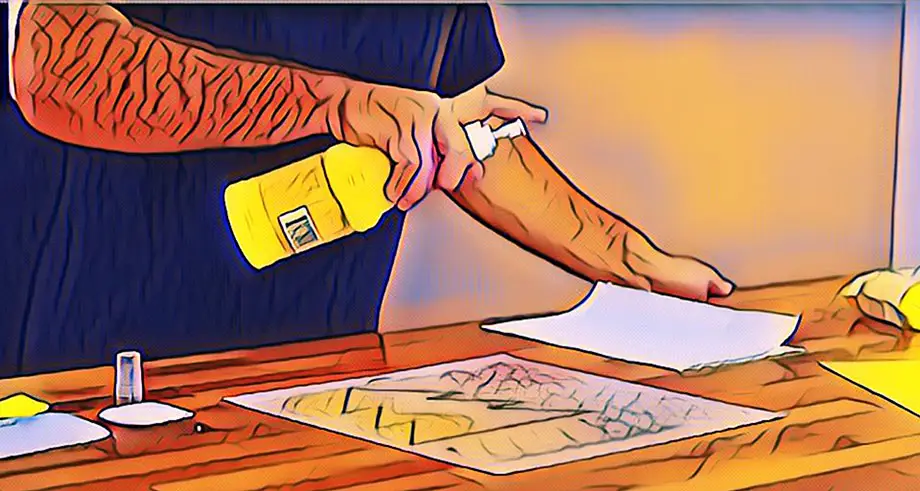
Here are the step-by-step instructions to clean your Cricut mat:
- Apply the cleaning solution: Use a clean sponge or cloth to apply the cleaning solution on the entire surface of the mat, focusing on areas with stains or debris. Be gentle while rubbing the surface.
- Let the cleaning solution sit: Let the cleaning solution sit on the mat’s surface for 2-3 minutes to loosen the debris or dirt.
- Scrub the mat’s surface: Use a scraper or spatula to gently scrub the mat’s surface, removing any stubborn stains or debris. Avoid using too much force to prevent damage to the mat.
- Rinse the mat: Thoroughly rinse the mat with warm water, removing all the cleaning solution and debris.
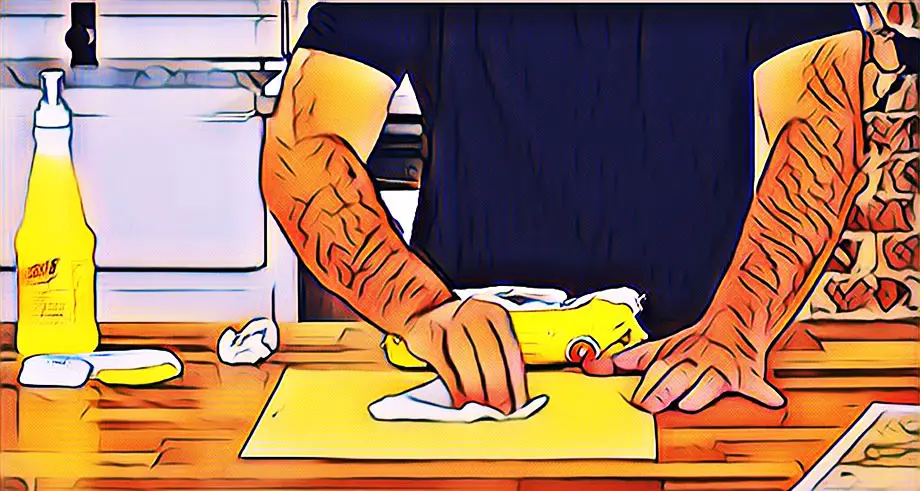
- Dry the mat: Dry the mat using a lint roller or a clean, dry cloth. Make sure to remove all excess moisture from the surface of the mat.
- Test the adhesive strength: Press your finger onto the mat to test the adhesive force. If it feels too sticky, dab it with a clean, dry cloth to reduce its stickiness.
It is best to use mild dish soap and warm water for cleaning your Cricut mat. Avoid harsh chemicals or abrasive cleaners, which can harm the mat’s surface and affect its adhesive strength.
Cleaning your Cricut mat regularly can help to prolong its lifespan and ensure precise cutting results. The following section will explain how to dry and store your Cricut mat after cleaning.
Drying and Storing Your Cricut Mat
When you’re finished cleaning your Cricut mat, it’s essential to dry and store it correctly to keep it in good shape. Here’s what to do:
- Remove excess moisture: Use a dry cloth or lint roller to wipe away any leftover water from the mat’s surface, making sure to get it all. If there’s any moisture left, mold or mildew could grow on the mat.
- Air dry the mat: Let your mat dry independently without using a hair dryer or heat source. Heating it can ruin the mat and make it less effective.
- Store the mat flat: Keep it in a clean, dry spot, and ensure it lays flat to avoid warping or curling. Direct sunlight or a humid area can damage the mat’s surface and adhesive strength.
- Use protective coverings: To protect your Cricut mat from getting dirty, consider using a plastic surface or a resealable bag when you’re not using it.
Remember to follow these tips to help your Cricut mat stay in good condition and achieve excellent results. It’s also a good idea to clean your mat regularly and follow these steps to dry and store it properly.
Maintaining Your Cricut Mat
Maintaining your Cricut mat is essential to ensure it stays in good condition and gives you the best cutting results. Here are some tips to keep your mat clean and in good shape:
- Clean your mat regularly to prevent dirt, debris, and fibers from building up on it. Clean it after each use to avoid buildup.
- Use a lint roller or scraper to remove loose debris before each use to prevent debris from getting stuck to the mat.
- Avoid cutting on a dirty mat, which can reduce its adhesive strength and cause missing errors. Always clean your mat before use.
- Store your Cricut mat flat in a clean, dry place to prevent debris and fibers from accumulating on its surface. Consider using a protective covering to keep it clean.
- Use a brayer to apply pressure to the mat and ensure adequate contact between the mat and the material being cut, which can help prevent debris and fibers from accumulating on the mat’s surface.
Following these tips, you can keep your Cricut mat in good condition and prolong its lifespan.
Conclusion
Caring for your tools is essential to any craft, and a Cricut mat is no exception. So take good care of your Cricut mat, and happy crafting! As we discussed, regular cleaning, proper storage, and following best practices can help to extend your Cricut mat’s life and provide optimal cutting results. By implementing these tips and tricks, you can ensure that your Cricut mat remains in good condition and offers many hours of crafting enjoyment.




Leave a Reply