Home improvement enthusiasts and professionals alike often face the question: can you paint wet wood? Understanding the answer to this question is essential, as painting projects can be significantly impacted by the moisture content of the wood being painted. Wet wood can lead to problems such as poor adhesion, peeling, and even damage to the wood itself. In this article, we will explore the risks of painting wet wood, how to determine if wood is dry enough to paint, and tips for managing damp or wet wood to ensure a successful and long-lasting paint job.
Can You Paint Wet Wood?
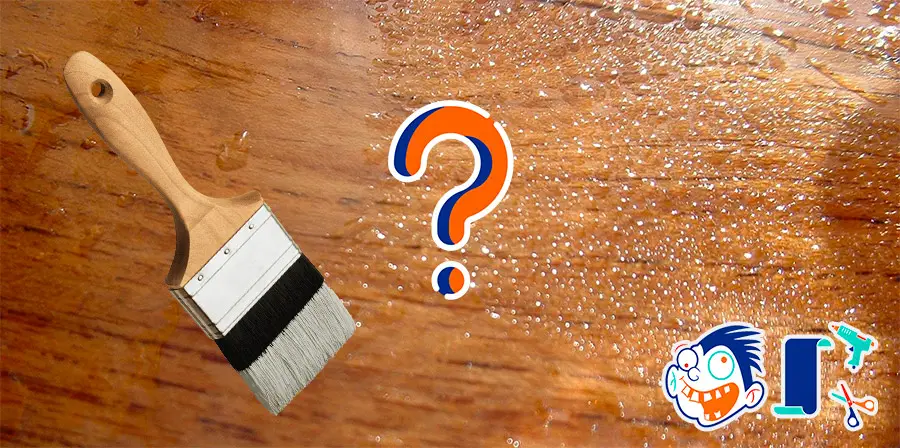
You can’t paint damp wood if you’re aiming for a smooth, even finish. Any lingering moisture within the wood can prevent paint from adhering correctly to the surface. To determine if the wood is dry enough, test its ability to absorb or repel water sprinkled on its surface.
The Risks of Painting Wet Wood
Painting wet wood can lead to several problems that may compromise the quality and longevity of your paint job. Some of the potential issues that may arise when painting wet wood include:
- Poor adhesion: Wet wood can prevent paint from adhering properly to the surface. As a result, the paint may not bond well with the wood, causing it to peel or chip away more easily than if the wood were dry.
- Blistering: When moisture trapped beneath the paint layer evaporates, it can cause the paint to bubble and blister. These blisters can eventually break, exposing the wood beneath and making it susceptible to damage.
- Peeling paint: Moisture in the wood can cause the paint to lose its grip on the surface, leading to peeling. Peeling paint not only looks unsightly but also exposes the wood to the elements, which can result in further damage.
- Mold and mildew growth: Wet wood provides an ideal environment for mold and mildew to grow, especially if it is not allowed to dry properly before painting. Mold and mildew can lead to unpleasant odors, unsightly stains, and potential health concerns.
- Wood rot: Consistently damp or wet wood can eventually lead to wood rot, a form of decay caused by fungi. Wood rot can weaken the structure of the wood and cause it to become soft, crumbly, or discolored.
By understanding the risks associated with painting wet wood, you can take the necessary precautions to ensure that your paint job is both durable and visually appealing.
How Long to Let Wood Dry Before Painting
The drying time for wood can vary depending on several factors, including the type of wood, environmental conditions, and the wood’s initial moisture content. Here are some general guidelines on how long to wait before painting different types of wood:
- New lumber: Freshly cut or new lumber typically has a high moisture content. It’s recommended to let the wood dry for at least a few weeks to a few months, depending on the thickness and type of wood. For example, softwoods like pine may dry faster than hardwoods like oak.
- Pressure-treated wood: Pressure-treated wood is infused with chemicals to protect it from decay and insects. It’s best to let pressure-treated wood dry for at least 30 days before painting, as the chemicals can interfere with the paint’s adhesion.
- Exterior wood: Exterior wood, such as siding, decks, or fences, should be allowed to dry for at least 24 to 48 hours after rain or pressure washing before painting. However, the drying time may vary depending on the local climate, temperature, and humidity.
- Interior wood: For interior wood surfaces, like furniture or trim, ensure that the wood is completely dry before painting. This may take anywhere from a few days to a week, depending on the moisture content and drying conditions.
Factors affecting drying time:
- Humidity: High humidity levels can slow down the drying process, as the wood is unable to release moisture into the already saturated air. In humid climates, it may take longer for wood to dry completely.
- Temperature: Warmer temperatures can speed up the drying process, while colder temperatures can slow it down. Ideally, you should aim to paint wood in temperatures ranging from 50 to 90 degrees Fahrenheit, as this range typically allows for optimal drying and curing of the paint.
- Type of wood: Different wood species have varying densities and moisture retention properties, which can affect drying times. For example, hardwoods like oak or maple may take longer to dry than softwoods like pine or cedar.
- Ventilation and air circulation: Proper ventilation and air circulation can significantly impact the drying time of wood. Enclosed spaces with limited air movement can prolong the drying process, whereas well-ventilated areas can help facilitate faster drying.
- Initial moisture content: The initial moisture content of the wood also plays a crucial role in determining the drying time. If the wood has been exposed to rain or other sources of moisture, it may take longer to dry compared to wood that has been stored in a dry environment.
By considering these factors and following the general guidelines provided, you can ensure that your wood is adequately dry before painting, helping to avoid the risks associated with painting wet wood.
How to Tell if Wood is Dry Enough to Paint
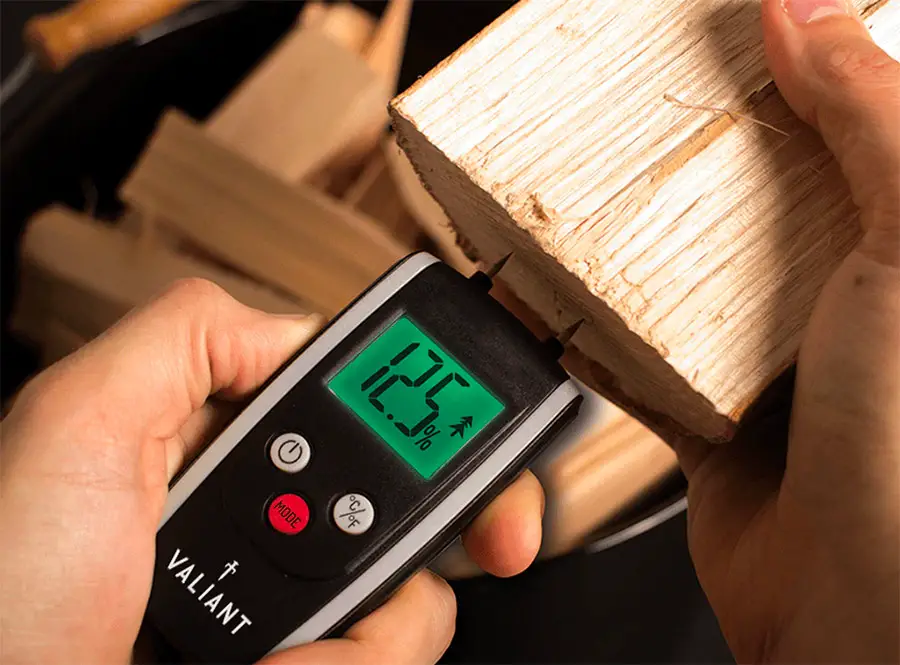
To ensure a successful paint job, it’s crucial to determine if the wood is dry enough to paint. There are several methods you can use to assess the moisture content of the wood:
Using a Moisture Meter
A moisture meter is a device that measures the moisture content in wood by either using pins that penetrate the wood’s surface or using electromagnetic waves to gauge the moisture content without causing any damage. Here’s how to use a moisture meter:
- Choose a moisture meter that suits your needs (pin-type or pinless).
- Calibrate the meter according to the manufacturer’s instructions.
- Place the meter on the wood surface and take a reading.
- Compare the reading to the recommended moisture levels for painting, typically around 12-15% for exterior wood and 8-12% for interior wood.
The Touch Test
The touch test is a simple, hands-on approach to determine if the wood is dry enough to paint:
- Touch the wood surface with the back of your hand.
- If the wood feels damp or cold, it may still be too wet to paint.
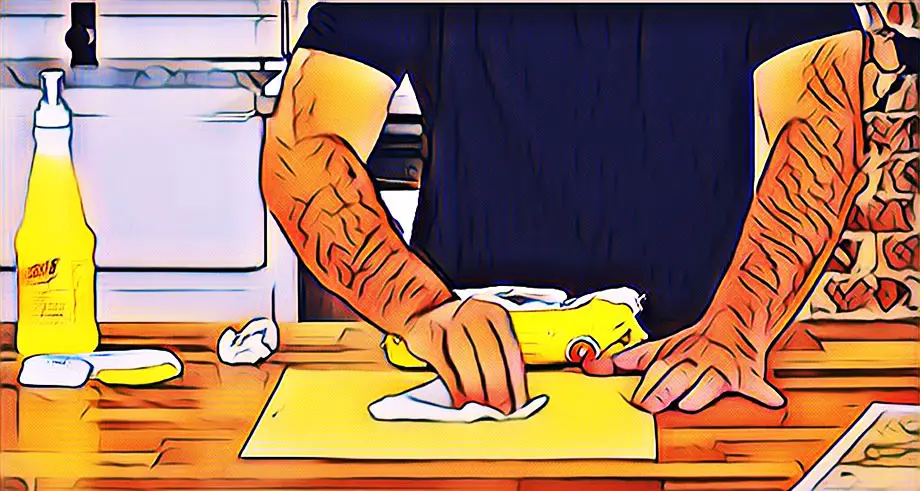
- For a more accurate assessment, press a dry cloth or paper towel against the wood surface. If it picks up moisture, the wood likely needs more drying time.
Visual Cues
Inspecting the wood for visual cues can help you determine its moisture content:
- Look for any visible signs of dampness or water stains on the wood surface.
- Check for darkened or discolored areas, which may indicate moisture
- Examine the wood for any signs of mold or mildew, as their presence suggests the wood is still damp.
The “Bead Test”
Another method to check the dryness of wood is the bead test:
- Sprinkle a few drops of water on the wood surface.
- Observe whether the water beads up or gets absorbed into the wood.
- If the water beads up, it may indicate that the wood is still holding moisture and not ready for painting. If the water is absorbed, the wood is likely dry enough to paint.
By employing these methods to assess the moisture content of the wood, you can ensure that it is dry enough for painting, ultimately leading to a more successful and long-lasting paint job. Remember that factors such as the type of wood, temperature, humidity, and air circulation can all influence drying times, so it’s essential to consider these when determining if the wood is ready to paint.
Tips for Painting Wet or Damp Wood
In some situations, it might be necessary to paint wet or damp wood due to time constraints or other factors. Although it is always best to paint dry wood, here are some tips for painting wet or damp wood to help minimize potential issues:
Use Specially Formulated Paints:
Select paints that are specifically designed for damp or wet surfaces. These paints contain additives that help them adhere better to moist surfaces and resist moisture-related problems. Look for labels that indicate the paint is suitable for damp or wet surfaces.
Apply a Moisture-Resistant Primer:
Before applying the paint, consider using a moisture-resistant primer to create a barrier between the damp wood and the paint. This primer can help improve adhesion, reduce the risk of peeling, and protect the wood from moisture damage. Make sure to choose a primer that is compatible with the paint you plan to use.
Ensure Proper Ventilation:
When painting wet or damp wood, proper ventilation is crucial to help the paint dry and cure effectively. Make sure there is adequate airflow in the area, and if possible, use fans to increase air circulation and speed up the drying process.
Avoid Painting in High Humidity:
High humidity levels can prolong the drying time of both the wood and paint, potentially leading to more issues. Try to paint on days when the humidity is lower, or wait for more favorable weather conditions if possible. If you must paint in high humidity, ensure proper ventilation and air circulation to help speed up the drying process.
Apply Thin Coats of Paint:
Applying thin coats of paint will allow each layer to dry more quickly and effectively. This technique reduces the risk of trapping moisture beneath the paint, which can lead to blistering and peeling. Be patient and allow each coat to dry thoroughly before applying the next one.
Choose Water-Resistant Paint:
Opt for water-resistant paint, such as acrylic or latex-based paints, which can provide better protection against moisture-related problems. These types of paint are more flexible and less prone to cracking and peeling when exposed to moisture.
Monitor the Wood for Signs of Moisture Damage:
After painting wet or damp wood, keep an eye on the area for any signs of moisture damage, such as blistering, peeling, or mold growth. If you notice any issues, address them as soon as possible to prevent further damage.
While painting wet or damp wood is not ideal, following these tips can help mitigate potential problems and improve the outcome of your paint job. Remember, the best approach is always to ensure the wood is dry before painting, but if circumstances require you to paint damp wood, these techniques can help increase the chances of a successful and long-lasting result.
How to Prevent Wet Wood Issues
To ensure a successful paint job and avoid the problems associated with painting wet wood, it’s essential to take steps to keep the wood dry before painting. Here are some suggestions for maintaining the wood’s dryness and preventing moisture-related issues:
Proper Storage
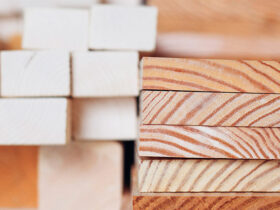
Store wood in a dry, covered area to protect it from rain, snow, and excessive humidity. Stack the wood off the ground using spacers or pallets to allow air circulation and prevent moisture absorption from the ground. Ensure adequate ventilation in the storage area to promote drying and prevent the buildup of moisture.
Seal Exposed Wood
If the wood is already installed or exposed to the elements, such as in the case of outdoor structures like decks or fences, consider sealing it with a water-repellent sealer. This will help protect the wood from moisture and give it time to dry before painting.
Pre-Treatment
Treat the wood with a moisture-resistant primer before painting. This will create a barrier between the wood and paint, helping to prevent moisture-related problems and improve paint adhesion.
Choose the Right Time
Plan your painting project during a time when the weather is dry and the humidity is low. Avoid painting immediately after rain or during periods of high humidity, as this can prolong drying times and increase the likelihood of moisture-related issues.
Monitor Weather Conditions
Keep an eye on the weather forecast and plan your painting project accordingly. If rain or high humidity is expected, consider postponing your project until more favorable conditions are present. This will help ensure the wood has ample time to dry and reduce the risk of moisture-related problems.
Address Existing Moisture Issues
Before painting, inspect the wood for any signs of existing moisture damage, such as mold, mildew, or rot. Address these issues by cleaning the affected areas, treating them with a fungicide, or replacing damaged wood. Taking care of these problems before painting will help prevent them from reoccurring and ensure a longer-lasting paint job.
Proper Ventilation
In indoor spaces, ensure proper ventilation and air circulation to help keep wood dry. Use exhaust fans or air purifiers to control humidity levels and improve air quality.
Use Moisture-Resistant Materials
For outdoor projects, consider using moisture-resistant materials, such as pressure-treated wood or naturally decay-resistant wood species like cedar or redwood. These materials are less susceptible to moisture-related issues and can help ensure a longer-lasting paint job.
By following these suggestions for keeping wood dry before painting, you can significantly reduce the risk of wet wood issues and ensure a successful, long-lasting paint job. Proper planning, storage, and pre-treatment can help you avoid the problems associated with painting wet wood and achieve a professional-looking result.
Conclusion
In conclusion, understanding the risks associated with painting wet or damp wood is crucial for achieving a successful and long-lasting paint job. Properly preparing the wood before painting can help prevent issues such as poor adhesion, blistering, and peeling paint. To ensure the best results, follow these key recommendations:
- Wait for the wood to dry completely before painting, considering factors such as humidity, temperature, and the type of wood.
- Use various methods, including moisture meters, touch tests, and visual cues, to determine if the wood is dry enough to paint.
- If you must paint wet or damp wood, opt for specially formulated paints, moisture-resistant primers, and proper ventilation to minimize potential problems.
- Keep wood dry before painting by storing it correctly, sealing exposed surfaces, and addressing existing moisture issues.
By adhering to these guidelines and taking the time to prepare your wood surfaces, you can ensure a high-quality, long-lasting paint job that will stand the test of time. Remember, patience and proper preparation are key to achieving a professional-looking result that you can be proud of.
References
- Browne, F. L. (1962). Wood properties and paint durability (No. 629). US Department of Agriculture.
- Haslam, J. H., & Werthan, S. (1931). Studies in the Painting of Wood. Industrial & Engineering Chemistry, 23(2), 226-233.
- Hoadley, R. B. (1998). Wood as a physical surface for paint application. Painted wood: history and conservation, 2-16.




Leave a Reply