Woodworking is a craft that combines both functionality and beauty, making it essential for enthusiasts to master various techniques. One such skill is learning how to round edge of wood, which not only enhances the visual appeal of projects but also ensures safety by eliminating sharp corners. In this comprehensive guide, we will explore different techniques and tools used to round wood edges, such as using a router, hand plane, or sandpaper. Our goal is to provide you with a clear understanding of each method, enabling you to choose the most suitable approach for your woodworking endeavors. So, let’s dive in and discover the art of rounding wood edges for an impeccable finish.
Materials and Tools Required
Before we begin rounding the edges of wood, it is crucial to gather the necessary tools and materials to ensure a smooth and efficient process. The tools and safety gear listed below will help you achieve a professional finish while minimizing potential risks.
Essential Tools
- Router: A versatile power tool that uses various bits to shape and trim wood edges.
- Sandpaper: Available in different grits, sandpaper is essential for smoothing out wood surfaces and refining rounded edges.
- Hand plane: A traditional manual tool used to shave off thin layers of wood, ideal for creating rounded edges on smaller projects or when a router is not available.
Suitable Wood Types
Selecting the right wood type is vital for achieving the desired rounded edges. While most wood types can be used, softer woods like pine, cedar, and poplar are more forgiving and easier to work with for beginners. Hardwoods such as oak, maple, and walnut provide a more durable finish but may require extra effort and sharper tools to shape.
Safety Gear
Protecting yourself during woodworking projects is of utmost importance. Equip yourself with the following safety gear to minimize risks:
- Goggles: Protect your eyes from wood shavings and dust.
- Gloves: Guard your hands from splinters and potential cuts while handling wood.
- Dust mask: Prevent the inhalation of wood dust and particles, which can be harmful to your lungs.
Gathering the appropriate tools, selecting suitable wood, and using proper safety gear will lay a strong foundation for your woodworking project, ensuring that you can effectively round wood edges with confidence and precision.
While rounding the edges of wood is an essential woodworking skill, cutting intricate curves and shapes is equally important. To learn more about the differences and applications of two popular tools for this purpose, the fret saw and coping saw, check out our in-depth comparison in our Fret Saw vs Coping Saw article.
Preparing the Wood
Before you start rounding the edges, it’s crucial to prepare the wood to ensure a clean and precise result. Proper preparation involves selecting the right wood piece, inspecting it for any defects, and marking guidelines for the desired edge profile.
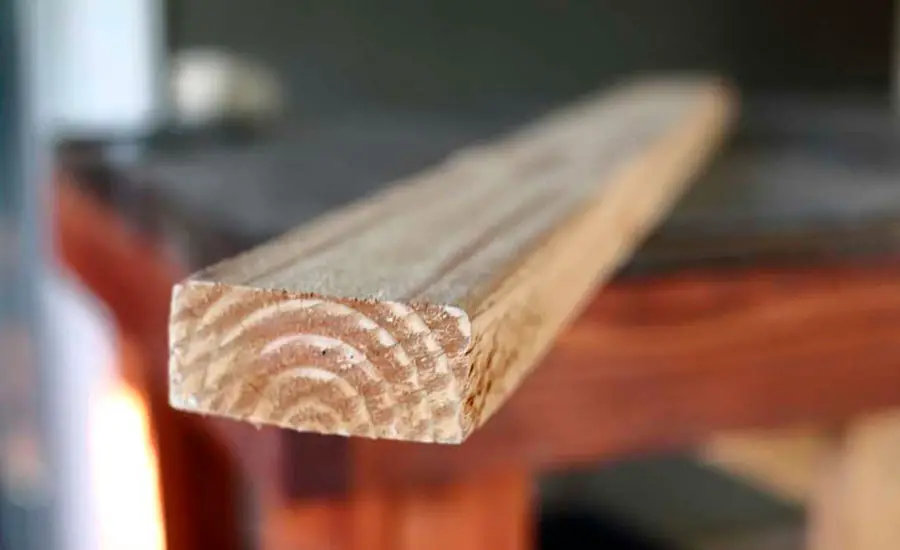
- Choosing the right wood piece: When selecting a wood piece for your project, consider factors such as size, grain pattern, and moisture content. Ideally, you should choose a piece that is flat, straight, and free of knots or splits. Additionally, make sure the wood is properly dried and has a uniform grain pattern to ensure a smooth and even edge when rounding.
- Ensuring wood is clean and free of defects: Before you begin working on the wood, it’s essential to clean it and inspect it for any defects. Wipe the surface with a clean, dry cloth to remove any dust or debris. Examine the wood for signs of warping, cracks, or other imperfections that could interfere with the rounding process. If necessary, sand the surface to remove any rough spots or irregularities.
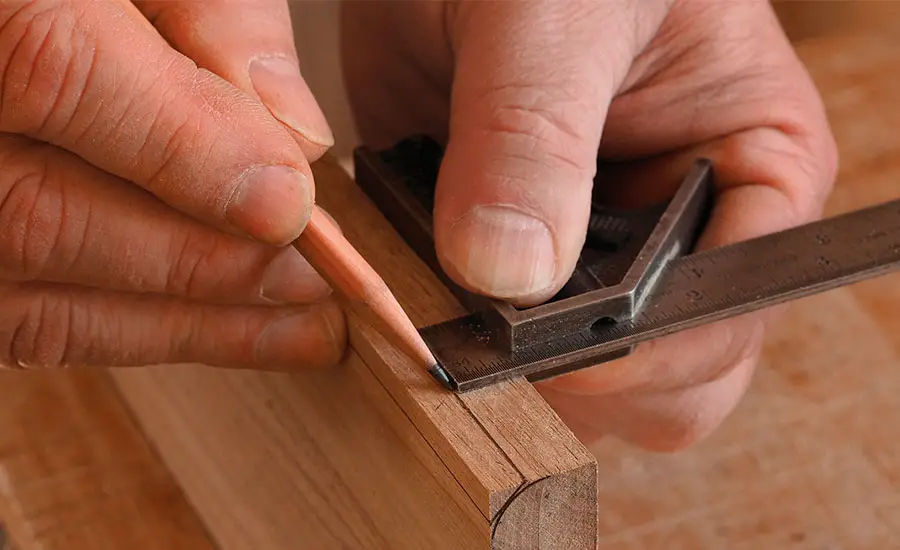
- Marking guidelines for the desired edge profile: To achieve a consistent and precise rounded edge, it’s important to mark guidelines on the wood piece. Measure and mark the desired width and depth of the rounded edge using a pencil and a straight edge or ruler. You can also use a compass or a flexible curve ruler to draw a smooth, even curve along the edge. These markings will serve as a visual guide during the rounding process, helping you maintain a uniform edge profile.
By carefully preparing the wood piece, you can ensure a more accurate and professional-looking result when rounding the edges. This attention to detail will make a significant difference in the quality and appearance of your woodworking project.
How to Round Edge of Wood: Choosing the Best Technique
In this guide, we will explore three popular techniques for rounding wood edges – using a router, a hand plane, and sandpaper. Each method has its advantages and is suited for different project requirements and skill levels. As you gain experience and confidence, you may find yourself using a combination of these techniques to achieve the perfect edge. Let’s dive into the first technique: rounding edges with a router.
Rounding the Edges with a Router
A router is a versatile and efficient power tool commonly used to create rounded edges on wood. By following the steps below, you can achieve a professional and smooth finish using a router.
Choosing the right router bit
Router bits come in various shapes and sizes, designed to create different edge profiles. For rounding wood edges, you’ll need a roundover bit, which has a curved profile and comes in different radius options. Choose the router bit that corresponds to the desired degree of roundness for your project.
Setting up the router
Before you begin, ensure that the router is unplugged. Attach the selected roundover bit to the router’s collet, making sure it is secure and tight. Adjust the router’s depth setting to achieve the desired depth of cut, based on the guidelines marked on the wood. Plug in the router and test it on a scrap piece of wood to verify the settings.
Router safety tips
- Always wear safety goggles, gloves, and a dust mask while using a router.
- Make sure the work area is well-lit and free of obstructions.
- Secure the wood piece to your workbench using clamps to prevent movement.
- Always operate the router with two hands and maintain a firm grip.
- Rout in the direction opposite to the bit’s rotation (a technique known as climb cutting) to avoid kickbacks.
Step-by-step guide to using a router for rounding edges
- Position the router on the wood’s edge, aligning the roundover bit with the marked guidelines.
- Turn on the router and let it reach its full speed before making contact with the wood.
- Slowly and steadily guide the router along the wood edge, following the marked curve and maintaining an even pace.
- Rout the entire edge, being cautious at the corners to avoid gouging the wood.
- Repeat the process for all edges that require rounding.
- Turn off the router and wait for it to come to a complete stop before setting it down.
By following these steps, you can achieve a smooth and consistent rounded edge using a router. This method is efficient, precise, and ideal for large projects or when you need to create a uniform edge profile on multiple pieces.
Rounding the Edges with a Hand Plane
Hand planes are traditional woodworking tools that offer excellent control and precision when shaping wood edges. Although they may be slower than routers, they provide a tactile and satisfying experience, especially for smaller projects or when a power tool is not available. Here’s how to round edges using a hand plane:
Selecting the appropriate hand plane
Choose a hand plane suitable for rounding edges, such as a block plane or a smoothing plane. These planes have adjustable cutting blades and are ideal for shaving off thin layers of wood to create a rounded profile. A block plane is generally more compact and easier to maneuver, making it a popular choice for edge work.
Sharpening and adjusting the hand plane
A sharp blade is essential for smooth and efficient planing. Sharpen the plane’s blade using a whetstone, honing guide, or sharpening system, and ensure it has a smooth, even edge. After sharpening, reassemble the hand plane and adjust the blade depth according to the desired amount of material removal. You can fine-tune the blade depth by turning the adjustment knob on the plane.
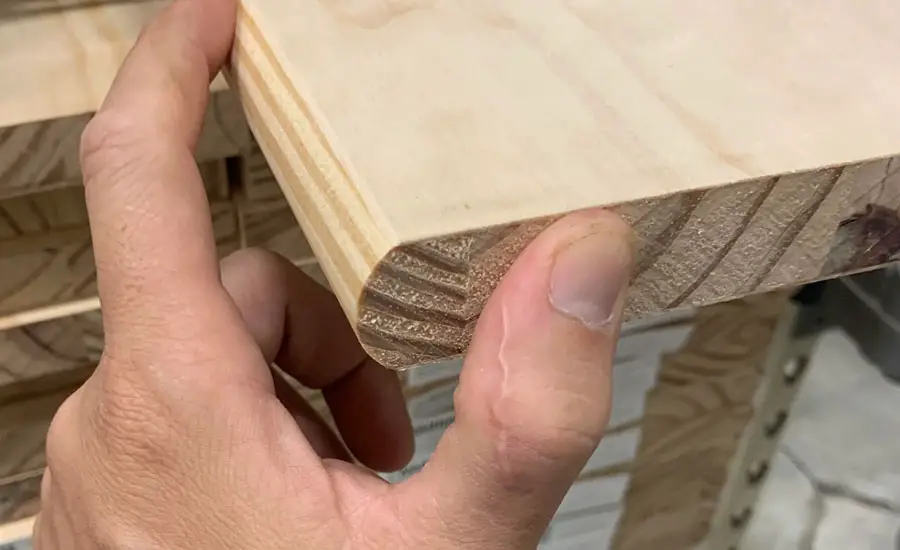
Step-by-step guide to using a hand plane for rounding edges
- Secure the wood piece to your workbench with clamps to prevent movement.
- Position the hand plane on the edge of the wood, aligning the blade with the marked guidelines.
- Apply even pressure to the plane and push it forward along the edge, following the curve while maintaining a consistent angle.
- Take shallow, controlled passes to gradually remove material and shape the rounded profile.
- Continuously check the progress and adjust the blade depth as needed.
- Once the desired roundness is achieved, finish the edge by making light, smoothing passes with the hand plane.
- Repeat the process for all edges that require rounding.
Using a hand plane to round wood edges may require more time and effort than using a router, but it offers a high level of control and precision. This method is ideal for those who enjoy traditional woodworking techniques or for situations where power tools are not practical.
Rounding the Edges with Sandpaper
Using sandpaper to round wood edges is a simple and cost-effective method that doesn’t require any power tools. While it might be more time-consuming than using a router or hand plane, sandpaper allows for fine control over the shaping process and is suitable for small projects or delicate wood pieces.
Selecting the right sandpaper grit
Sandpaper is available in various grits, which correspond to the coarseness of the abrasive particles. For rounding edges, start with a coarser grit (such as 80 or 100) to remove material quickly, and then progress to finer grits (150 and 220) to smooth and refine the edge. Finishing with a very fine grit (320 or higher) will result in an ultra-smooth surface.
Techniques for effective sanding
- Fold the sandpaper into a manageable size, or wrap it around a sanding block for better control and even pressure distribution.
- Sand in the direction of the wood grain to minimize visible scratches.
- Apply even, consistent pressure while sanding to avoid creating uneven surfaces or dips.
- Frequently check your progress to ensure you’re maintaining the desired edge profile.
- Periodically clean the sandpaper to remove accumulated wood dust, which can hinder its effectiveness.
Step-by-step guide to using sandpaper for rounding edges
- Secure the wood piece to your workbench with clamps to prevent movement.
- Begin sanding the edge with the coarsest grit sandpaper, following the marked guidelines and maintaining a consistent angle.
- Gradually shape the edge by applying even pressure and sanding in the direction of the wood grain.
- As you approach the desired roundness, switch to progressively finer grits of sandpaper to smooth and refine the edge.
- Continue sanding until the edge is uniformly rounded and free of any tool marks or scratches.
- Repeat the process for all edges that require rounding.
Rounding wood edges with sandpaper is an accessible method for beginners or those working with limited tools. It offers the advantage of fine control and a gentle approach, making it suitable for delicate or intricate projects.
Finishing Touches
After rounding the edges using your preferred method, it’s essential to apply some finishing touches to ensure a polished and professional result. These final steps will help smooth out any imperfections, enhance the appearance, and protect the rounded edges.
- Smoothing out any imperfections: Inspect the rounded edges for any remaining tool marks, scratches, or uneven areas. Use fine-grit sandpaper (320 or higher) to lightly sand the edges and eliminate any imperfections. Make sure to sand in the direction of the wood grain to maintain a smooth and consistent finish.
- Applying wood finish or paint (optional): Depending on your project’s purpose and desired appearance, you may choose to apply a wood finish or paint to the rounded edges. Wood finishes, such as varnish, oil, or stain, can enhance the natural beauty of the wood and provide protection against moisture and wear. Paint can add a pop of color and a durable surface for projects that require it. Before applying any finish or paint, ensure the wood surface is clean and free of dust. Follow the manufacturer’s instructions for the chosen product, and apply multiple coats as necessary for optimal results.
Maintenance tips for protecting rounded edges
To maintain the appearance and integrity of your rounded wood edges, consider the following tips:
- Keep the wood clean and free of dust or debris, which can accumulate and cause damage over time.
- Regularly inspect the edges for signs of wear, chipping, or cracking, and address any issues promptly with sanding or touch-up applications of finish or paint.
- Avoid exposing the wood to excessive moisture or humidity, which can cause warping, swelling, or deterioration.
- Use coasters or pads to protect the edges from damage caused by everyday use, such as hot or cold items, sharp objects, or abrasive materials.
By paying attention to the finishing touches and maintaining your rounded wood edges, you can ensure they remain in excellent condition and continue to enhance the beauty and function of your woodworking projects.
Conclusion
In this article, we’ve explored various techniques and tools for rounding wood edges, including using a router, hand plane, and sandpaper. Each method offers its unique advantages and challenges, so it’s important to consider your specific project needs and personal preferences when selecting the best approach.
As you embark on your woodworking journey, don’t be afraid to experiment with different techniques and tools to find what works best for you. Keep in mind that practice is key when mastering any new skill, and woodworking is no exception. The more you work with wood, the better you will become at rounding edges and achieving a polished, professional result.
Lastly, always prioritize safety when working with wood and tools. Wear appropriate safety gear, such as goggles, gloves, and a dust mask, and follow best practices for tool usage and maintenance. By taking these precautions, you can enjoy the art of woodworking while minimizing the risk of accidents and injuries.
With persistence, patience, and a focus on safety, you can successfully round wood edges and create beautiful, functional projects that showcase your craftsmanship and attention to detail.
References:
- Woodworkers Guild of America: Rounding Over Edges with a Hand Plane. Link: https://www.wwgoa.com/
- Popular Woodworking: Mastering the Router. Link: https://www.popularwoodworking.com/
- Fine Woodworking: All About Sandpaper. Link: https://www.finewoodworking.com/
These references provide additional information and guidance on the various techniques and tools discussed in the article, as well as general woodworking tips and best practices. Readers can explore these sources for a deeper understanding of the skills needed to round wood edges and excel in their woodworking projects.





Leave a Reply