Paper mache is a fascinating and versatile art form that has captivated artists and crafters for centuries. With its ability to transform simple materials like paper and glue into intricate sculptures, masks, and decorative pieces, it’s no wonder that paper mache has found applications in various projects across the globe. One of the essential aspects of working with paper mache is determining the ideal number of layers for your project. This article will delve into the question of how many layers of paper mache are needed to achieve the perfect balance between durability, aesthetics, and functionality for a wide range of creative endeavors.
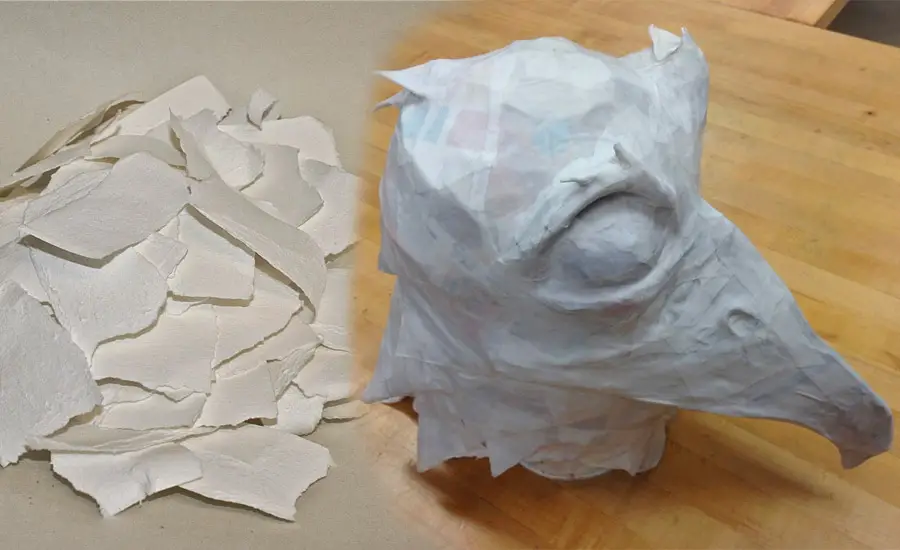
What Is Paper Mâché?
Paper mache, also known as papier-mâché, has a rich history that dates back to ancient civilizations. The term “papier-mâché” originates from the French words for “chewed paper,” although the technique was first developed in China over 2,000 years ago. The art form eventually spread to the Middle East, Europe, and the Americas, gaining popularity during the 18th and 19th centuries as a cost-effective alternative to traditional materials like wood, metal, and ceramics.
Types of paper
Various types of paper can be used for paper mache, each offering different characteristics that can affect the final outcome. Some common options include:
- Newspaper: The most popular choice, thanks to its wide availability and low cost. The text on the paper can sometimes show through, so a final layer of plain paper is often recommended.
- Plain white paper: A versatile option that provides a clean surface for painting and decorating.
- Tissue paper: Thin and lightweight, tissue paper can be used to create delicate details or as a final layer to smooth out the surface.
- Brown kraft paper: A sturdy and thick option that can add strength to larger projects or sculptures.
Types of adhesive
The choice of adhesive plays a crucial role in the success of a paper mache project. Some common options include:
- Homemade paste: A simple mixture of water and flour, creating a cost-effective and eco-friendly adhesive. Some recipes also include sugar or salt as a preservative.
- Wallpaper paste: A store-bought alternative that offers a more consistent texture and faster drying time than homemade paste. It’s important to choose a non-toxic version for safety reasons, especially when working with children.
- White craft glue: Also known as PVA glue, this adhesive provides strong bonding and flexibility, making it suitable for projects requiring extra durability. It can be diluted with water to create a suitable consistency for paper mache.
Common paper mache techniques
There are several techniques used in creating paper mache projects, each with its own unique characteristics and applications:
-
- Strip method: This technique involves dipping strips of paper into the adhesive and layering them onto a mold or form. The strip method is ideal for projects that require a more textured surface, such as sculptures or masks.
- Pulp method: This technique requires blending or tearing paper into small pieces and mixing it with the adhesive to form a pulp-like consistency. The pulp is then applied to a mold or form, creating a smooth surface that is well-suited for detailed work or smaller crafts.
- Balloon method: A popular choice for creating hollow objects, this technique involves inflating a balloon and using it as a mold for the paper mache layers. Once the layers have dried, the balloon is deflated and removed, leaving a lightweight and sturdy structure.
- Armature method: For projects that require a specific shape or support, an armature made of wire, cardboard, or other materials can be used as a framework for the paper mache layers. This method allows for greater control over the shape and structure of the final piece and is often used for more complex or large-scale projects.
By understanding the history, materials, and techniques used in paper mache, you can better appreciate the nuances of this versatile art form and make informed decisions about the best approach for your project. In the following sections, we will explore how the number of layers in paper mache can impact the strength, aesthetics, and functionality of your creations, as well as provide guidelines and tips for achieving optimal results.
Factors Influencing the Number of Layers
Size and scale of the project
The size and scale of your paper mache project play a significant role in determining the number of layers needed. Smaller projects, such as ornaments or decorations, may require fewer layers than larger or more complex pieces, like sculptures or furniture. As the size of the project increases, adding more layers can provide the necessary strength and stability to support the structure.
Intended use and durability requirements
Consider how your paper mache project will be used and the level of durability it needs to withstand. For decorative items that won’t experience much handling or wear, fewer layers may suffice. However, for functional or wearable pieces, like masks, costumes, or furniture, additional layers will provide the needed strength and durability to withstand regular use.
Types of materials used
The materials you choose for your paper mache project can influence the number of layers required. Thicker paper, such as brown kraft paper, will generally provide more strength and rigidity than thinner options, like newspaper or tissue paper. Similarly, using a stronger adhesive, such as PVA glue, can result in a more robust final product, potentially reducing the need for extra layers.
Drying time and environment
The drying time and environment can also impact the number of layers needed for your paper mache project. In humid conditions, the drying process may take longer, and additional layers may take even more time to dry. In these situations, it’s crucial to allow each layer to dry fully before adding the next one, as trapped moisture can weaken the structure and lead to mold or decay. Conversely, in drier environments, the layers may dry more quickly, allowing you to add more layers in less time. Keep in mind that adding too many layers too quickly can result in an uneven or lumpy surface, so it’s essential to strike a balance between drying time and the desired thickness of your project.
By taking into account the size and scale of your project, its intended use and durability requirements, the materials you choose, and the drying time and environment, you can make an informed decision about how many layers of paper mache are appropriate for your specific needs. In the next section, we’ll provide some layering guidelines for different types of projects to help you achieve the best results possible.
Layering Guidelines for Different Projects
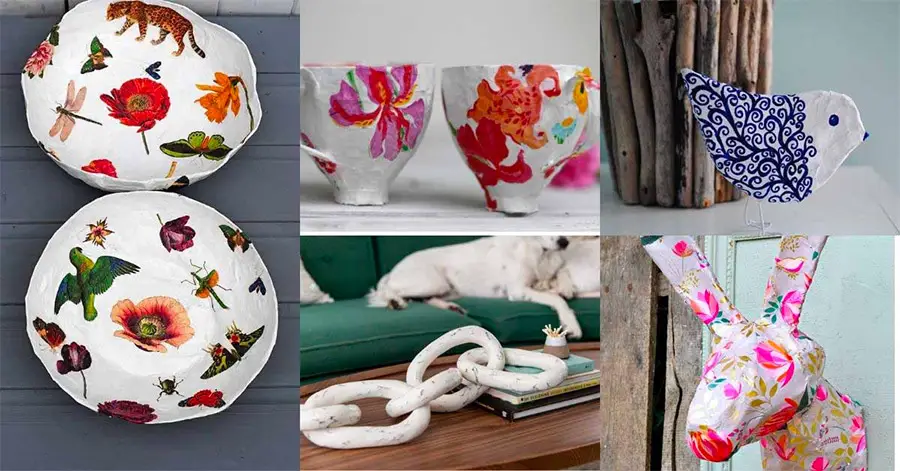
Small crafts and ornaments
For small crafts and ornaments, such as holiday decorations or miniature figures, 2-4 layers of paper mache are usually sufficient. These projects typically don’t require a high level of strength or durability, and using fewer layers will help minimize drying time and keep the final product lightweight.
Masks and wearable items
Masks and other wearable items, like costume accessories or props, require a balance between durability and comfort. In these cases, 4-6 layers of paper mache are recommended. This will provide enough strength to withstand handling and wear while remaining lightweight and comfortable to wear. Remember to give special attention to the edges and any areas that may experience extra stress during use.
Sculptures and decorative pieces
Sculptures and decorative pieces, such as wall art, vases, or figurines, often need a higher level of durability and strength, particularly if they are larger or more complex in design. For these projects, 6-8 layers of paper mache are advisable. The increased thickness will provide added support to the structure and help prevent cracks or breaks over time.
Large-scale installations and structures
Large-scale installations and structures, like furniture, stage props, or outdoor sculptures, require the most durability and strength due to their size and potential exposure to external elements or frequent handling. For these projects, 8-10 layers or more of paper mache may be necessary. The additional layers will provide the needed support and stability to ensure that the final product can withstand the demands of its intended use. It’s essential to allow adequate drying time between layers and consider using reinforcing materials, like wire mesh or an armature, for added structural support.
By following these layering guidelines for different types of paper mache projects, you can achieve the optimal balance of strength, aesthetics, and functionality. Keep in mind that these recommendations serve as a starting point, and it’s essential to experiment and adjust the number of layers based on your specific project and desired results. In the next section, we’ll share some tips for successful layering to help you create stunning paper mache pieces that stand the test of time.
Layering guidelines table
| Project Type | Recommended Layers | Notes |
|---|---|---|
| Small crafts and ornaments | 2-4 layers | Lightweight and quicker drying; sufficient for projects not requiring high strength or durability |
| Masks and wearable items | 4-6 layers | Balanced between durability and comfort; focus on edges and stress points for added strength |
| Sculptures and decorative pieces | 6-8 layers | Increased durability and strength for more complex or larger projects; helps prevent cracks or breaks over time |
| Large-scale installations and structures | 8-10+ layers | Provides maximum support and stability; consider using reinforcing materials for added structural support |
This table summarizes the layering guidelines for different types of paper mache projects, providing a quick reference to help you determine the appropriate number of layers for your specific project. Remember that these recommendations are a starting point and that experimenting and adjusting the number of layers based on your unique needs and desired results is essential.
Tips for Successful Layering
Properly preparing your materials
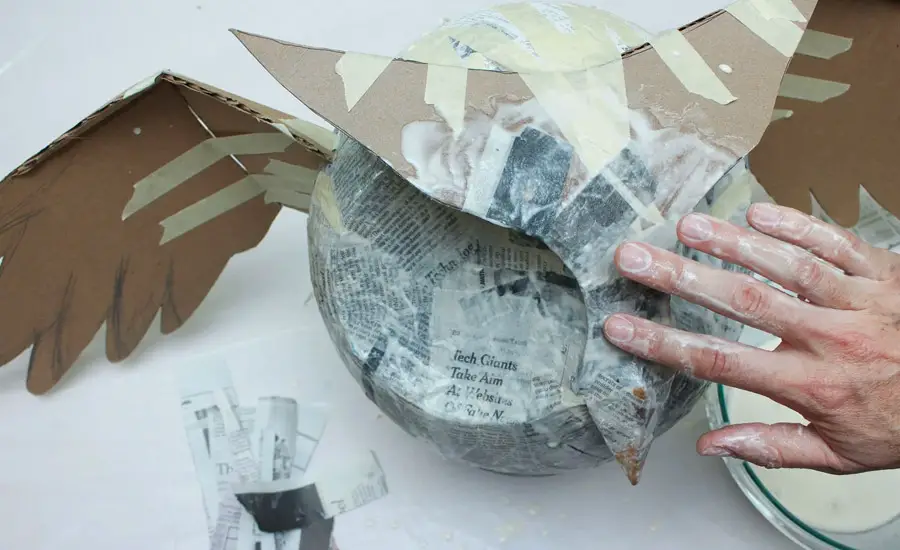
Before starting your paper mache project, make sure to prepare your materials properly. Cut or tear your paper into uniform strips or pieces to ensure even coverage and prevent gaps or overlaps. When mixing your adhesive, aim for a smooth consistency without lumps, and adjust the ratio of water to adhesive as needed. Properly prepared materials will make it easier to create even and strong layers.
Maintaining even and smooth layers
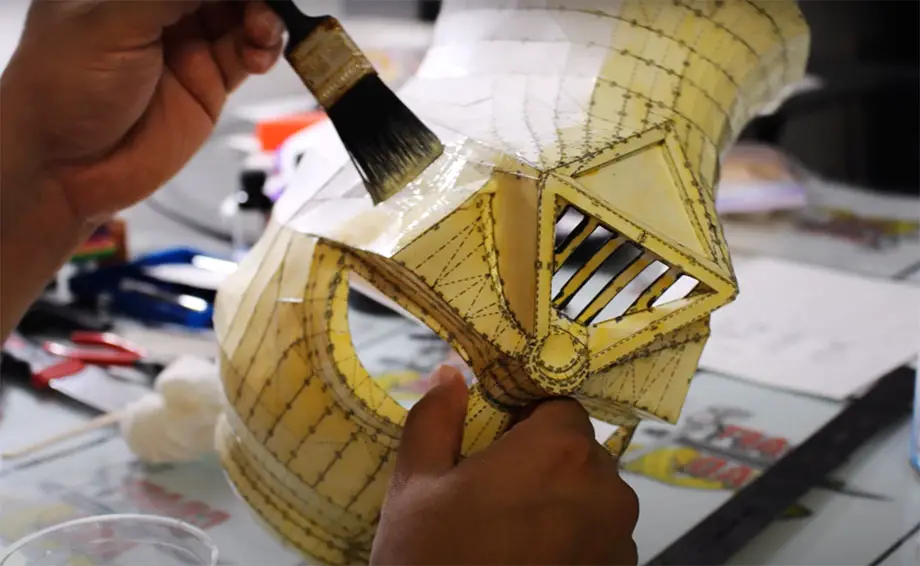
For successful layering, focus on creating even and smooth layers. Overlap the strips of paper slightly to ensure full coverage without leaving gaps, and smooth out any air bubbles or wrinkles as you go. When applying each new layer, change the direction of the strips to create a crosshatching pattern, which adds strength and stability to the final product.
Allowing adequate drying time between layers
One of the most critical aspects of successful paper mache layering is allowing adequate drying time between layers. Depending on the size of your project, the type of adhesive used, and the environmental conditions, this can take anywhere from a few hours to a couple of days. Allowing each layer to dry fully before adding the next one will prevent trapped moisture, which can weaken the structure or lead to mold growth.
Finishing techniques for added strength and durability
Once your paper mache layers are complete and fully dry, consider using finishing techniques to enhance the strength and durability of your project. Some options include:
- Applying a coat of sealant, such as acrylic varnish or polyurethane, to protect the surface from moisture, dirt, and wear. This is especially important for projects that will be exposed to the elements or handled frequently.
- Adding a layer of paint or decorative elements not only enhances the visual appeal of your project but can also provide additional protection and strength. Acrylic paint is an excellent option due to its flexibility and durability.
- For projects requiring extra support or reinforcement, consider using additional materials like wire mesh, cardboard, or an armature as part of the structure. This can help distribute weight and stress more evenly, reducing the risk of cracks or breaks.
By following these tips for successful layering, you can create paper mache projects that are not only visually appealing but also strong and durable. Remember that patience, attention to detail, and a willingness to experiment are crucial components of the paper mache process, ensuring that your final creations will be something you can be proud of.
Another interesting aspect of paper mache is the ability to make it hard like plastic, which can be particularly useful for certain projects that require extra rigidity and durability. By using a combination of specific techniques, such as adding a layer of resin or using a specialized hardening agent, you can create paper mache pieces that are strong and long-lasting, similar to plastic.
Conclusion
In conclusion, considering the number of layers in paper mache projects is essential for achieving a successful outcome. The ideal balance of layers can significantly impact the strength, durability, and aesthetics of your final creation. By understanding the factors that influence the number of layers, such as the size and scale of the project, intended use, materials used, and drying time, you can make informed decisions about the best approach for your specific needs.
Proper layering techniques, along with adequate preparation and patience, play a crucial role in the overall success of your paper mache projects. By following the guidelines and tips provided in this article, you can ensure that your creations are not only visually appealing but also strong and durable.
Remember that every project is unique, and the key to finding the ideal balance of layers lies in experimentation and adjusting based on your specific requirements and desired results. So, go ahead and explore the versatile world of paper mache, and let your creativity and ingenuity guide you in crafting stunning pieces that you can be proud of.




Leave a Reply